Russia · Appetizers and Sandwiches
Russian Sauerkraut (Kvashenaya Kapusta)
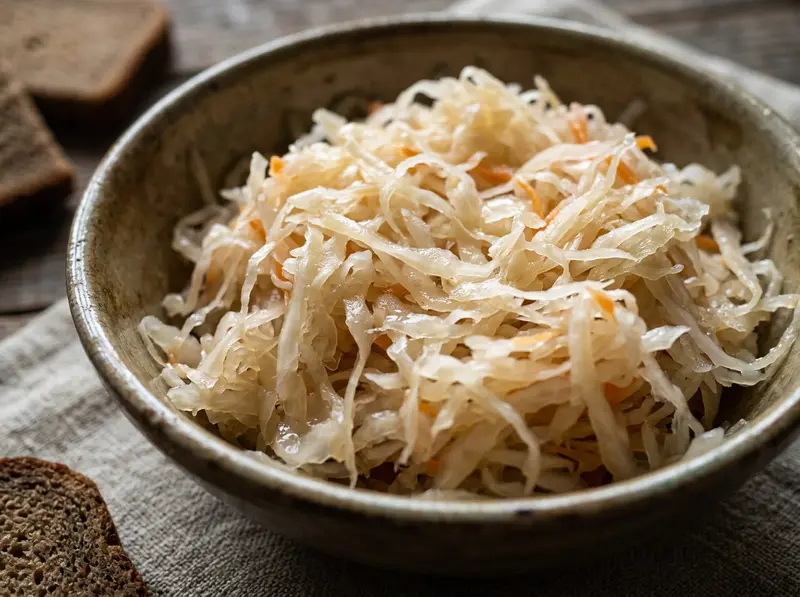
Kvashenaya kapusta (квашеная капуста) is Russian sauerkraut: shredded white cabbage and grated carrot, salted dry and left to sour in their own juice, with no vinegar and no added water.
Ingredients
- white cabbage2.5 kg
- carrots250 g
- salt65 g
Method
- 1Get the equipment clean. Wash your hands, the board, the knife and a large mixing bowl of at least 5 litres. Wash a 5-litre enamelled pot that has no chips, a flat plate that fits inside it and a 0.5-litre glass jar with a lid, then scald all three with boiling water. A glass, ceramic or food-grade plastic container of the same size works too, but not aluminium, copper, brass, galvanised steel or iron, because the acid and the salt react with those metals.
- 2Shred and weigh. You need about 3 kg of white cabbage, 1 large or 2 medium heads, to end up with 2.5 kg of shreds. Pull off the outer green and damaged leaves, rinse the heads under cold running water, let them drain, cut them into quarters and cut out the cores. Slice the quarters across the leaf into shreds 2 to 3 mm wide and weigh out 2.5 kg of white cabbage. Peel the carrots, grate them on the coarse side of a grater and weigh out 250 g. Weigh 65 g of coarse salt that is not iodised. The weighing matters: the salt has to stay at about 24 g for every 1 kg of cabbage and carrot together, so if your shreds weigh more or less, change the salt to match.
- 3Salt and knead the cabbage in two halves, because 2.5 kg of loose shreds is too much to work in one bowl. Put half of the cabbage (1.25 kg) into the mixing bowl, scatter half of the salt (about 32 g) over it, and squeeze and rub it hard with your hands for 3 to 5 minutes. The salt draws out the juice that will become the brine. Stop when the shreds are wet, glossy and limp, have sunk to about half their volume, and juice gathers at the bottom when you tilt the bowl. Mix in half of the carrots (125 g) with a light hand.
- 4Pack the pot. Tip the first half into the pot with all of its juice and press it down hard with your fist or a potato masher. Salt and knead the second half the same way with the rest of the salt and the rest of the carrots, add it to the pot and press again. Level the top, lay the plate on the cabbage, fill the 0.5-litre jar with water, close it and stand it on the plate as a weight. Cover the pot with a clean towel and not with a lid: the towel keeps insects and mould out and lets the gas escape. Set the pot on a tray in case the juice rises over the rim. Check it after a few hours. The juice should have risen over the shreds and reached the plate, because cabbage left above the brine goes mouldy quickly. If it has not, add a second jar of water as extra weight. If the juice still does not cover the cabbage after that, top it up with boiled and cooled brine made with 1½ tablespoons of salt per 0.95 litre (1 US quart) of water, never with plain water.
- 5Leave the pot at 18–22 °C for 5 days, counting the day after you packed it as day 1. By day 2 you should see bubbles rising, foam on top and a cloudy brine, and smell a clean sourness; that is normal fermentation. From day 2 to day 5, once a day, lift off the jar and the plate and push a clean wooden skewer or chopstick down to the bottom of the pot in 5 or 6 places to let the gas out. Skim off the foam with a clean spoon, because the yeasts in surface scum feed on the acid the cabbage needs. Rinse the plate with hot water, then put the plate and the jar back and cover the pot with the towel again. Keep the pot away from radiators and direct sun: above 24 °C the cabbage turns soft, and below about 15 °C it may not ferment at all.
- 6On day 5, decide whether it is done. It is ready when no new foam forms, the bubbling has stopped, the brine is turning from cloudy to clearer, and the cabbage is white to light straw-yellow, still crisp, and tastes sour and salty. If it still foams or bubbles, or the room has been at the cool end, near 18 °C, give it up to day 7, piercing and skimming once a day as before. If you have pH test strips, dip one into the brine before you move the cabbage to the cold: it should read 4.6 or lower. If it reads higher, leave the pot in the warm and test again every 1 to 2 days. Throw the whole batch away without tasting it if the cabbage is soft and slimy, smells rotten, or has mould growing on it or in it. Foam and a thin scum on the brine are the only things you skim off and carry on.
- 7Move it to the cold. Wash three 1-litre glass jars and their lids and scald them with boiling water; one 3-litre jar does the same job. Pack the cabbage into the jars, pressing it down, and pour in all of the brine so the cabbage is covered. Close the lids and put the jars in the fridge at 0–4 °C. An enamelled pot is fine for the days of fermenting but not for long keeping. Leave the cabbage in the fridge for 2 days before you eat it.
- 8Serve it cold, straight from the jar. Take it out with a clean fork, press what is left back under the brine and keep the jar closed in the fridge. It is at its best within 1 month and keeps for up to 2 months, as long as it stays covered by brine and still smells clean and sour. Do not store it at room temperature.