
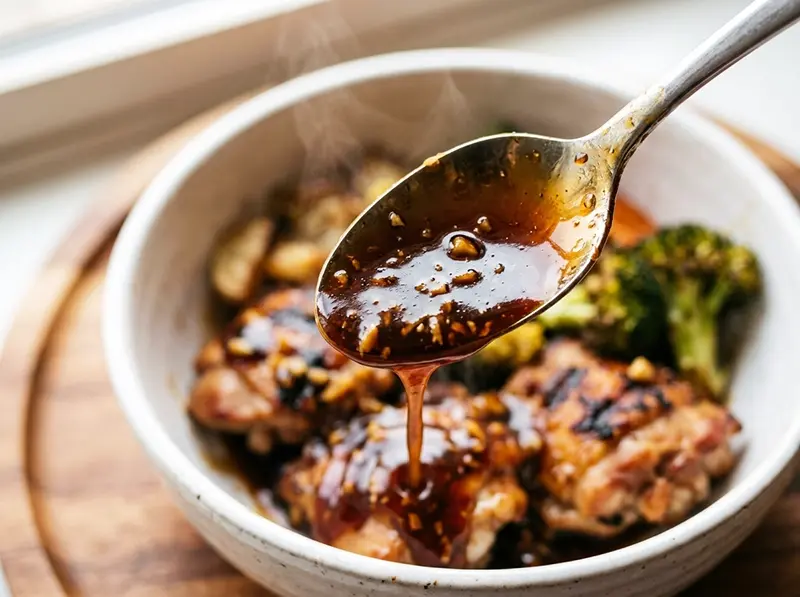
Teriyaki Sauce
A glossy, deeply savory-sweet glaze built from soy sauce, mirin, sake, and sugar, thickened with a cornstarch slurry until it coats a spoon. Homemade teriyaki takes ten minutes and tastes nothing like the bottled kind — the fresh garlic and ginger give it a brightness that disappears completely in shelf-stable versions. I keep a jar in the fridge and use it on everything from grilled chicken to roasted vegetables.
Ingredients
- 80 mlsoy sauce
- 60 mlmirin
- 40 mlsake
- 2 tbspsugar
- 2 clovesgarlic
- 1 tspfresh ginger
- 1 tspcornstarch
- 1 tbspcold water
Method
- Combine soy sauce, mirin, sake, and sugar in a small saucepan. Set over medium heat and stir until the sugar dissolves completely, about 1–2 minutes.

- Add the minced garlic and grated ginger. Bring the mixture to a gentle simmer and let it cook for 2–3 minutes so the aromatics infuse the liquid.
- In a small cup, whisk the cornstarch into the cold water until smooth — no lumps. Pour the slurry into the simmering sauce while stirring constantly.

- Continue stirring for 1–2 minutes until the sauce thickens enough to coat the back of a spoon. It will thicken further as it cools.

- Remove from heat and let cool for 5 minutes. Strain out the garlic and ginger if you want a smooth glaze, or leave them in for more texture and punch. Transfer to a jar. Keeps refrigerated for up to 2 weeks.
FAQ
Mirin is a sweet Japanese rice wine with about 14% alcohol and a syrupy, slightly golden consistency. It contributes a clean sweetness and a natural gloss that sugar alone can't replicate. If you can't find mirin, use 60 ml of dry sherry mixed with 1 tablespoon of sugar, or 60 ml of rice vinegar with 2 tablespoons of sugar. Neither is perfect — sherry is the closest in depth — but both work in a pinch. Avoid 'mirin-style seasoning' if possible, as it's mostly corn syrup.
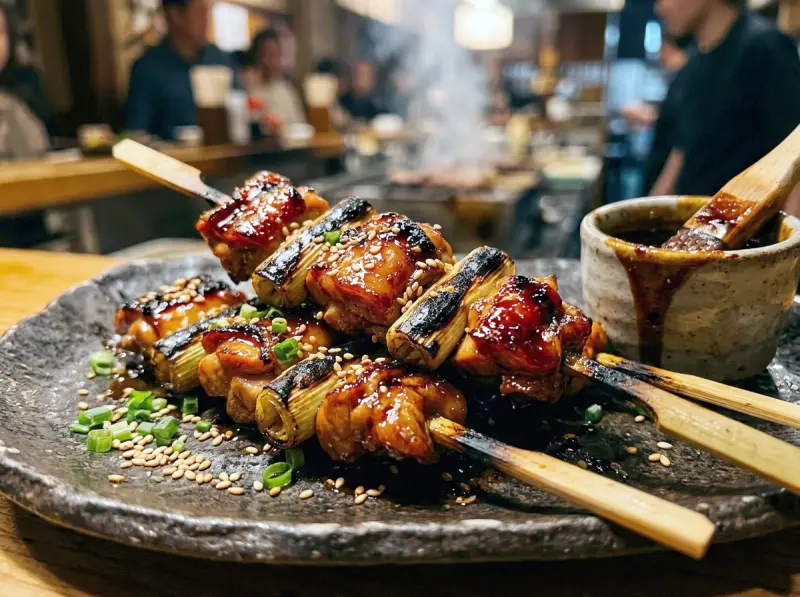
Restaurant teriyaki has two advantages: they reduce the sauce longer so it's more concentrated, and they glaze it directly on hot protein under a broiler so the sugars caramelize. At home, simmer the sauce a bit longer than you think — until it coats a spoon thickly. Then brush it on grilled or broiled meat in the last 2–3 minutes of cooking and let it char slightly. That caramelization is most of what you're tasting at a restaurant.
In a sealed glass jar, homemade teriyaki keeps 2 weeks refrigerated. It thickens in the fridge — just warm it gently or add a splash of water to loosen it before using. You can freeze it in ice cube trays for up to 3 months. Thaw at room temperature or drop a frozen cube directly into a hot pan. The garlic and ginger may soften over time but the flavor holds well.
Standard teriyaki is not gluten-free because regular soy sauce contains wheat. To make it gluten-free, replace the soy sauce with tamari (make sure the label says gluten-free — most tamari is, but check). Coconut aminos also work and are both gluten-free and soy-free, though they're milder and slightly sweeter, so reduce the sugar by half. The rest of the ingredients — mirin, sake, garlic, ginger, cornstarch — are naturally gluten-free.
They're the same sauce at different thicknesses. A thin teriyaki sauce (less cornstarch or none) is used as a marinade or dipping sauce — it soaks into meat before cooking. A thick teriyaki glaze (more cornstarch, longer reduction) is brushed onto protein during the last few minutes of grilling or broiling so it caramelizes on the surface. For stir-fry, use the thinner version so it coats everything evenly. For salmon or chicken thighs under the broiler, use the thicker glaze.
Rate this
Recipes by email
One letter a week: a recipe picked for your taste, plus whatever is new on the site. Unsubscribe in one click.
Welcome gift: Sergei's cookbook (e-book).
By subscribing you agree to the privacy policy.
Tell us what you like to cook (30 seconds) →Keep browsing
More dishes from the Japanese archive — picked by overlap with what you're cooking now.


Join the conversation
Comments (1)
Taste this teriyaki sauce at room temperature, not straight from the fridge. Cold mutes flavors — you might oversalt it. Let it warm up for 10-15 minutes, taste, then make your final seasoning adjustments.